
Carport renovation on an itty-bitty budget
At the moment, I’m still neck deep in the house flip. This is the “messy middle” part, which means I’ve got more work ahead than what’s behind, and I’m feeling tired and overwhelmed. But … I am forging ahead one day at a time, focusing on the vision in my head and that glorious day when I’ll have an open house for all my family, friends, neighbors and curious passersby. That day, I know all the blood, sweat and tears that have gone into this project will be worth it! I am looking forward to that moment more than you can imagine.
In the meantime, I wanted to take a minute and show you the work I’ve completed in the carport of the flip house. This was one area where I really had to put the squeeze on the budget. In other words, I had to get really creative about what I could do to freshen up the space without changing it structurally or spending a bunch of money.
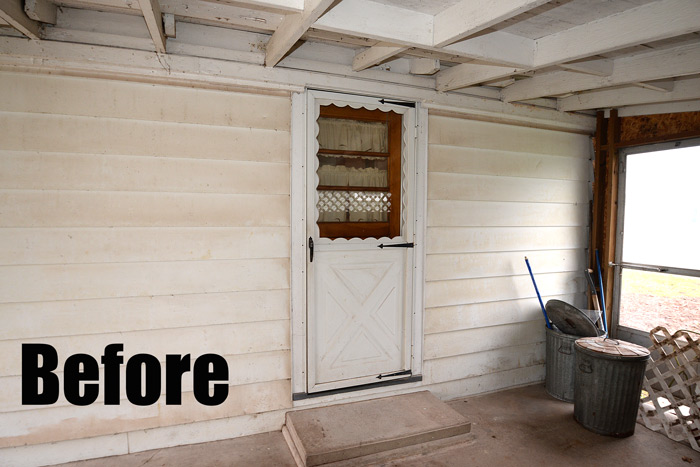


Then primer and paint became my BFFs for about 4 days.
To get good stain coverage on the ceiling and walls, I applied a thick coat of Zinsser® Cover Stain® Oil-Base Primer. When I suspect I may have issues with water stains or wood knots bleeding through the paint, I don’t mess around with anything else to try and hide them. I use this primer to knock out the problem with one coat. Period. In the past, I’ve used water-based primers because, well, I prefer the ease of soap and water cleanup. But there is just no substitute for a good oil or shellac-based primer for hiding stains. Cover Stain is my absolute, hands-down, all-time favorite for this purpose, especially for exterior applications. It’s quite affordable, too, at about $20 a gallon, and it saves work in the end.
After priming, I finished off with a thick coat of Rust-Oleum® 2x One Coat Solid Stain (in white).*
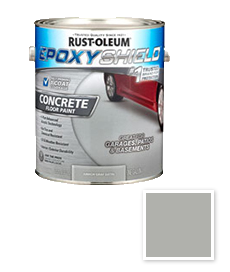
For the floor, I used Rust-Oleum® EPOXYSHIELD® Concrete Floor Paint in Armor Gray Satin. This product goes on smoothly and quickly and I think the color is just gorgeous. I got the entire first coat rolled on in less than an hour.
I would definitely recommend when using this product that you have dry weather in the forecast and an ambient temperature above 50 F. I’ve got a few spots to touch up because we got an unexpected rain shower and it kept the paint from adhering properly.
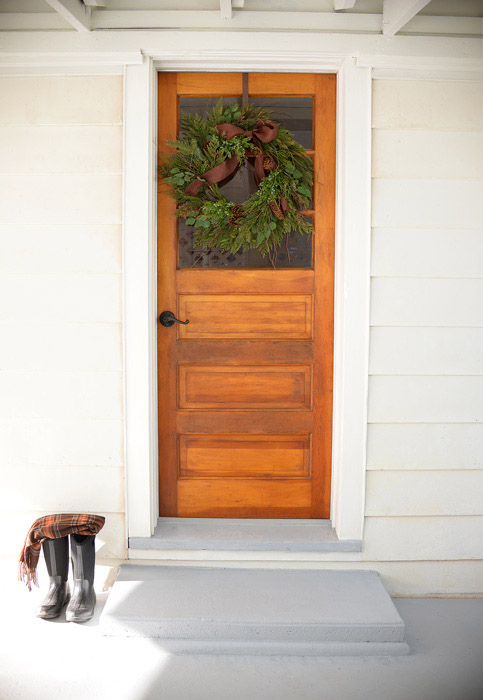
Between the white walls and ceiling and the newly painted floor, this space now looks fresh and bright.
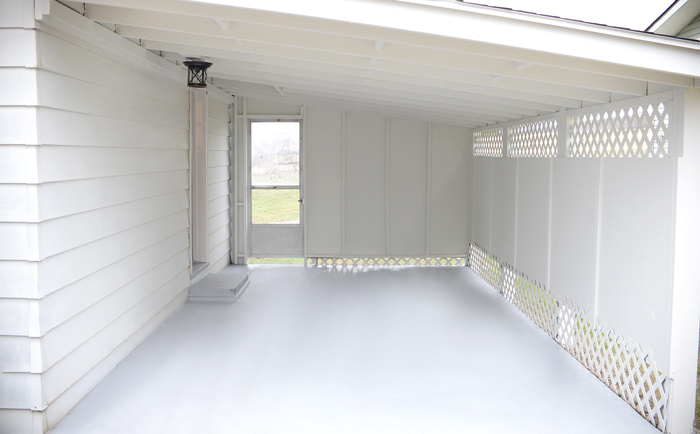
What do you think of this budget-friendly transformation?

If you’re curious about what the inside of the house looks like right now, check out this video I made.
Later this week, I will be sharing the finished downstairs bathroom. I am so excited because I think it looks amazing! Stay tuned.